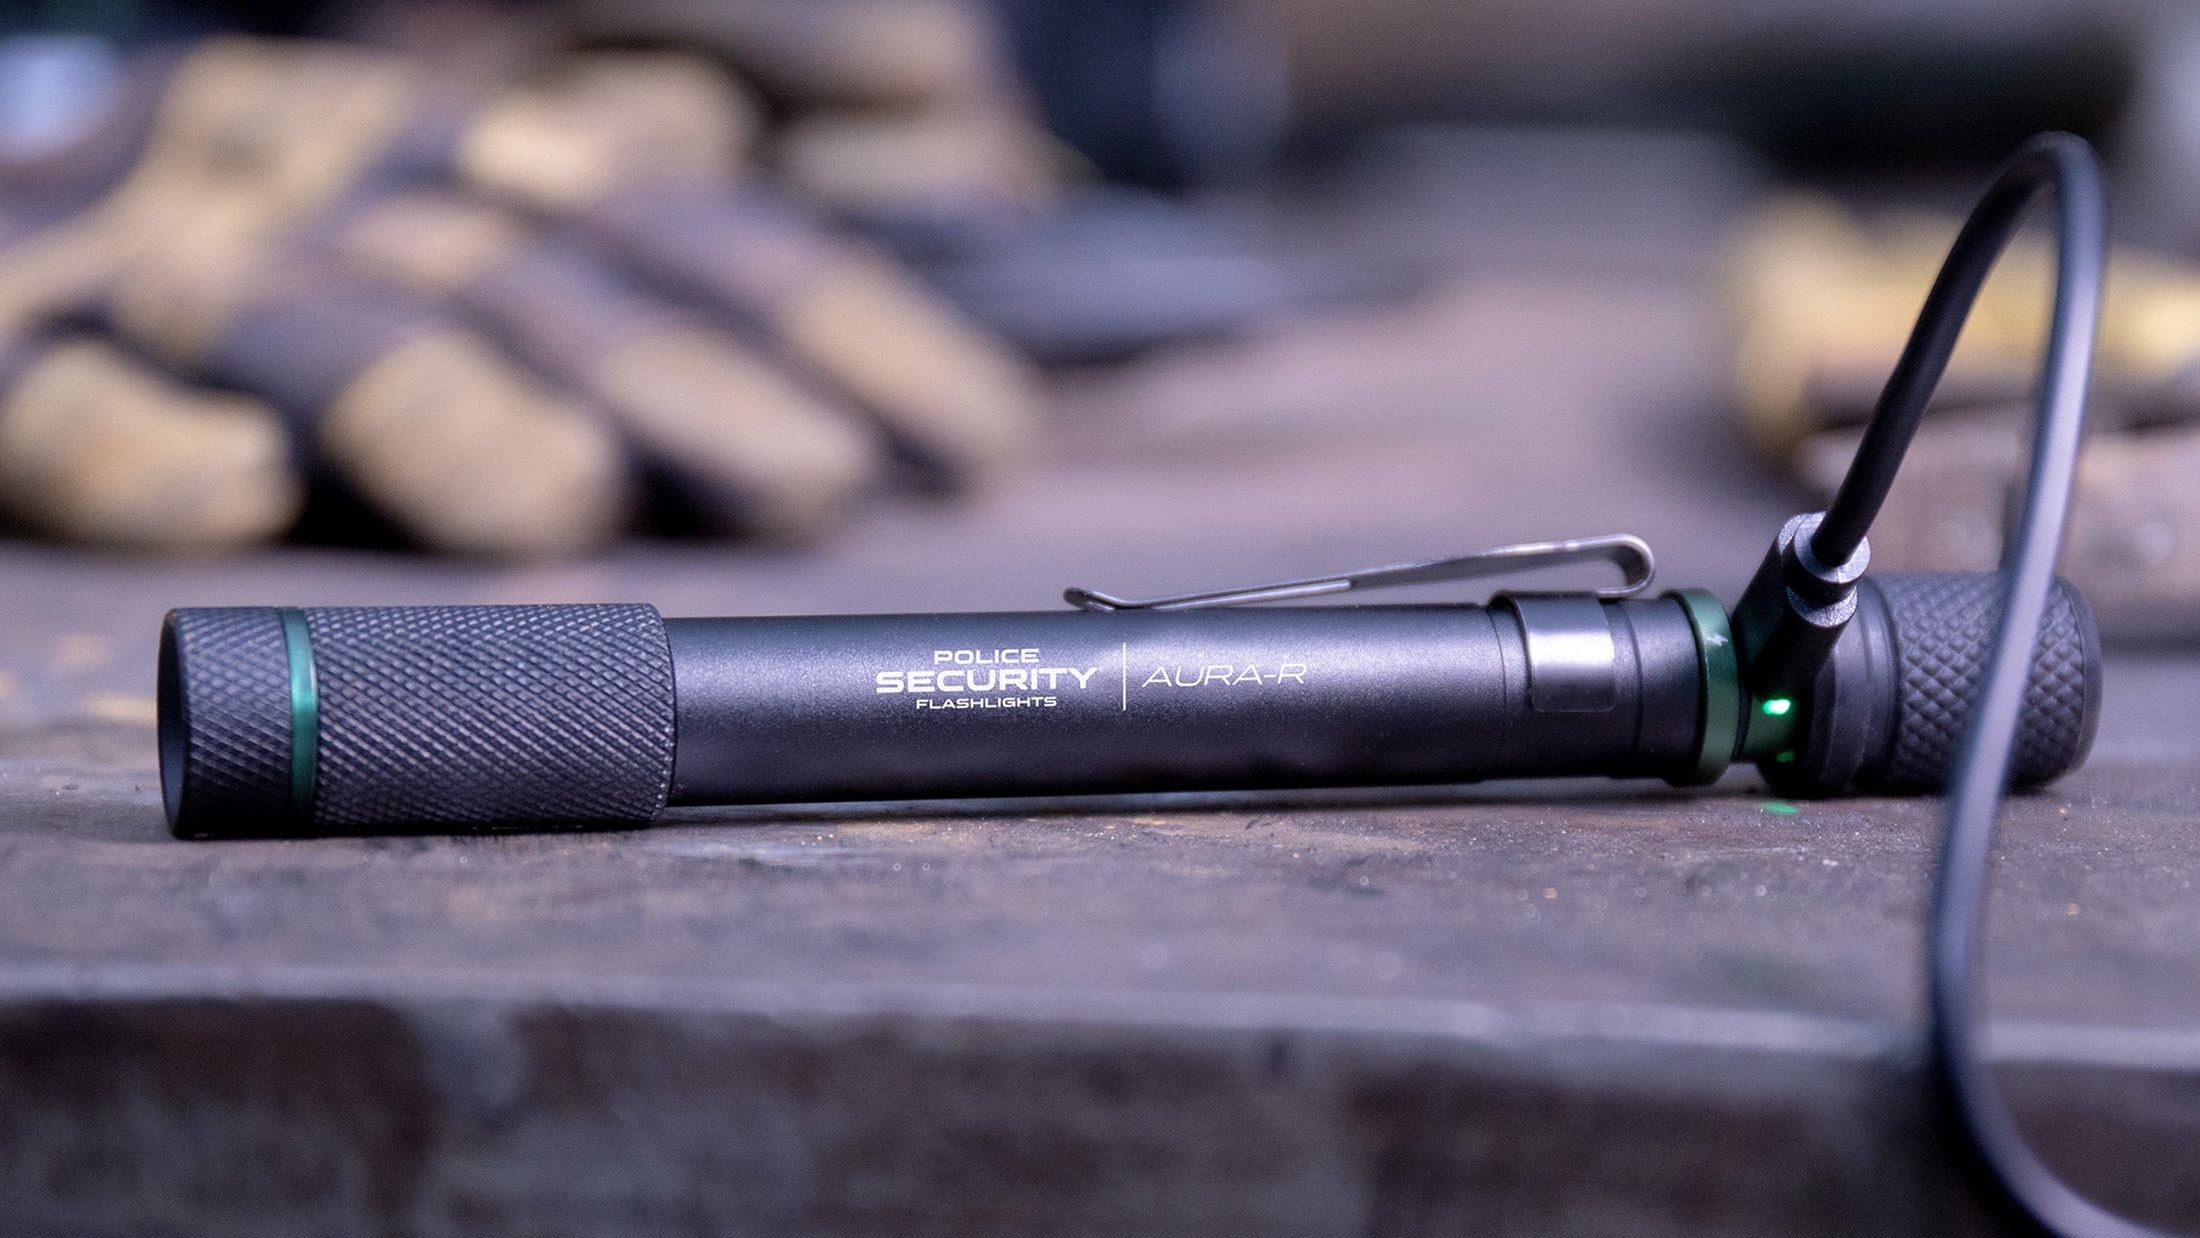
DIY Maintenance and Care for Your Flashlights
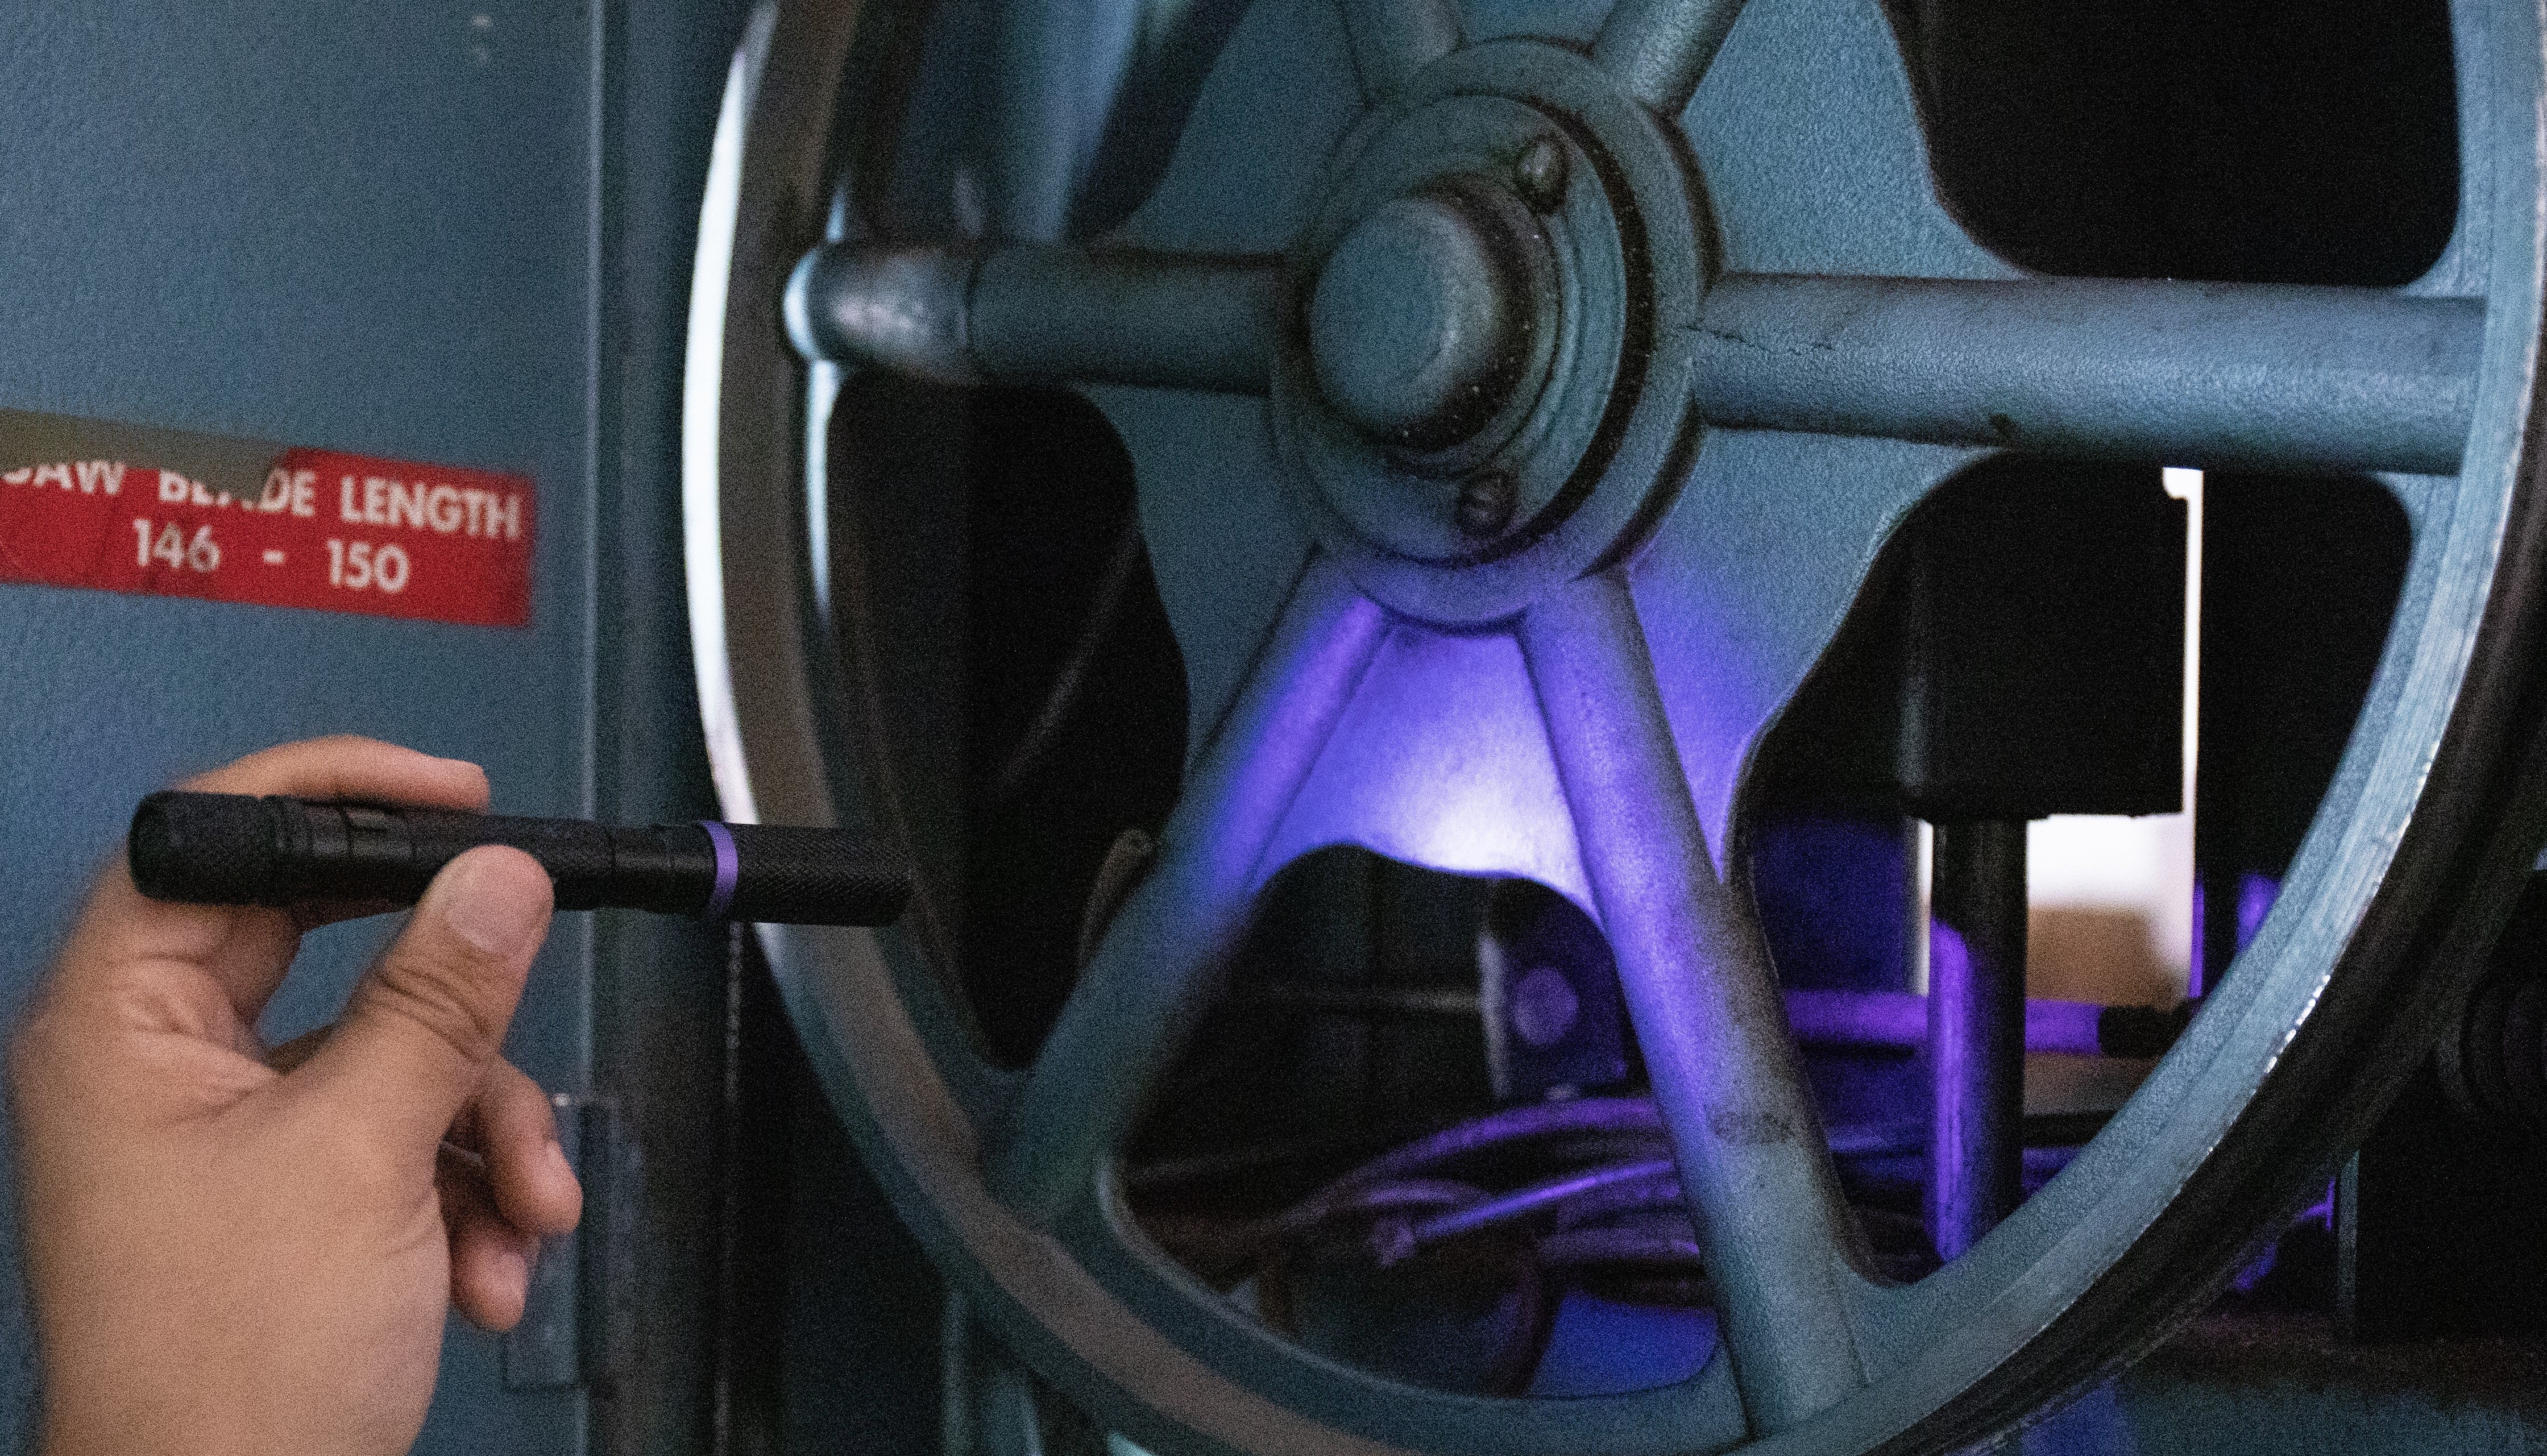
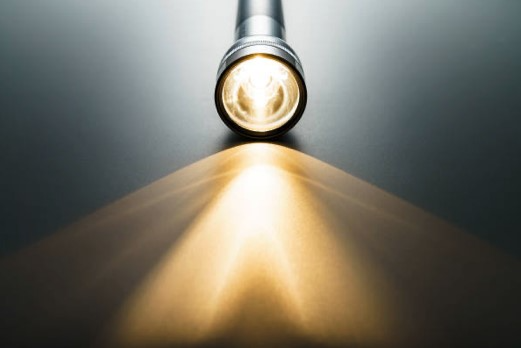
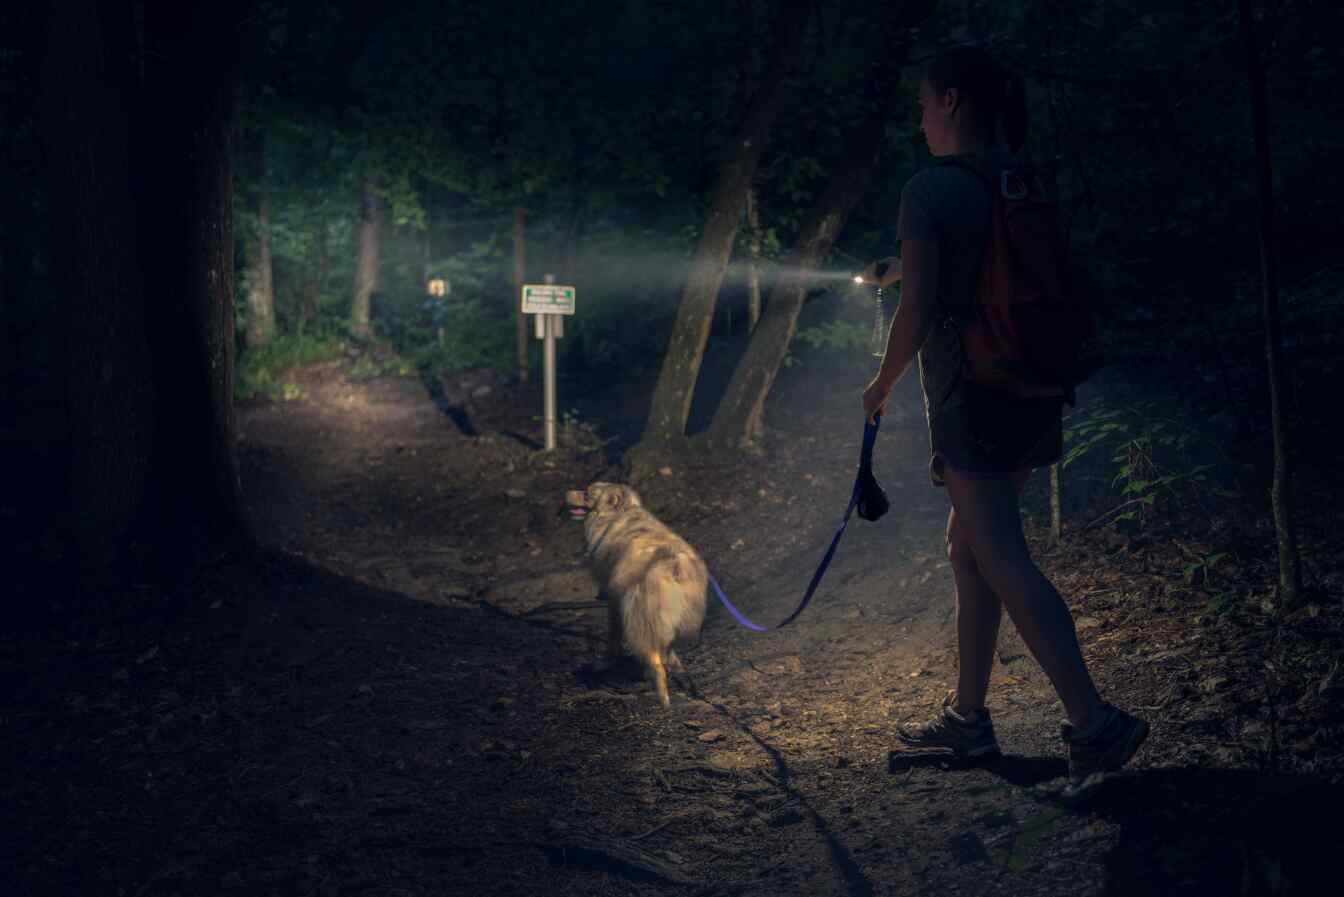
A reliable flashlight is not just a convenience - in some situations, it is a lifeline. This blog explores how you can enhance your adventures and always be prepared with proper maintenance and care of your flashlight.
Understanding Your Flashlight's Anatomy
Familiarize yourself with the lens, reflector, LED chip or incandescent bulb, battery housing, and the crucial o-rings. Each part plays a unique role in your flashlight's operation and longevity.
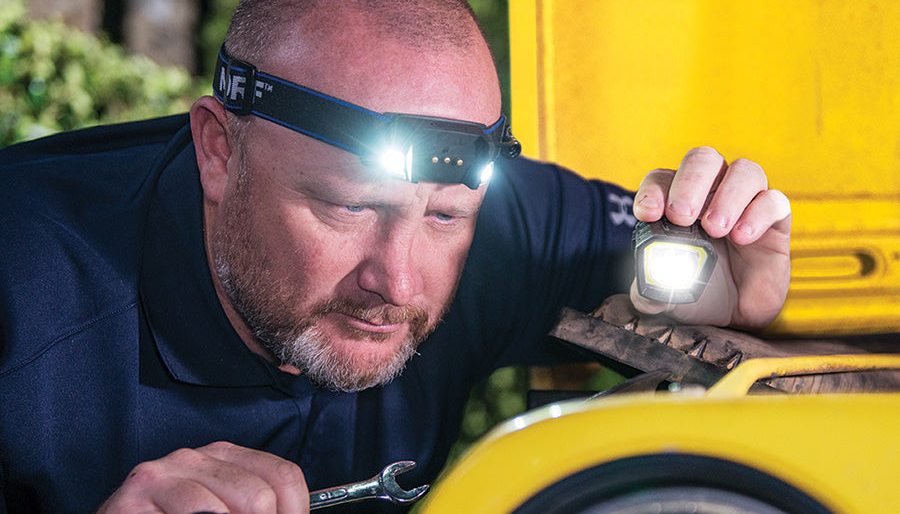
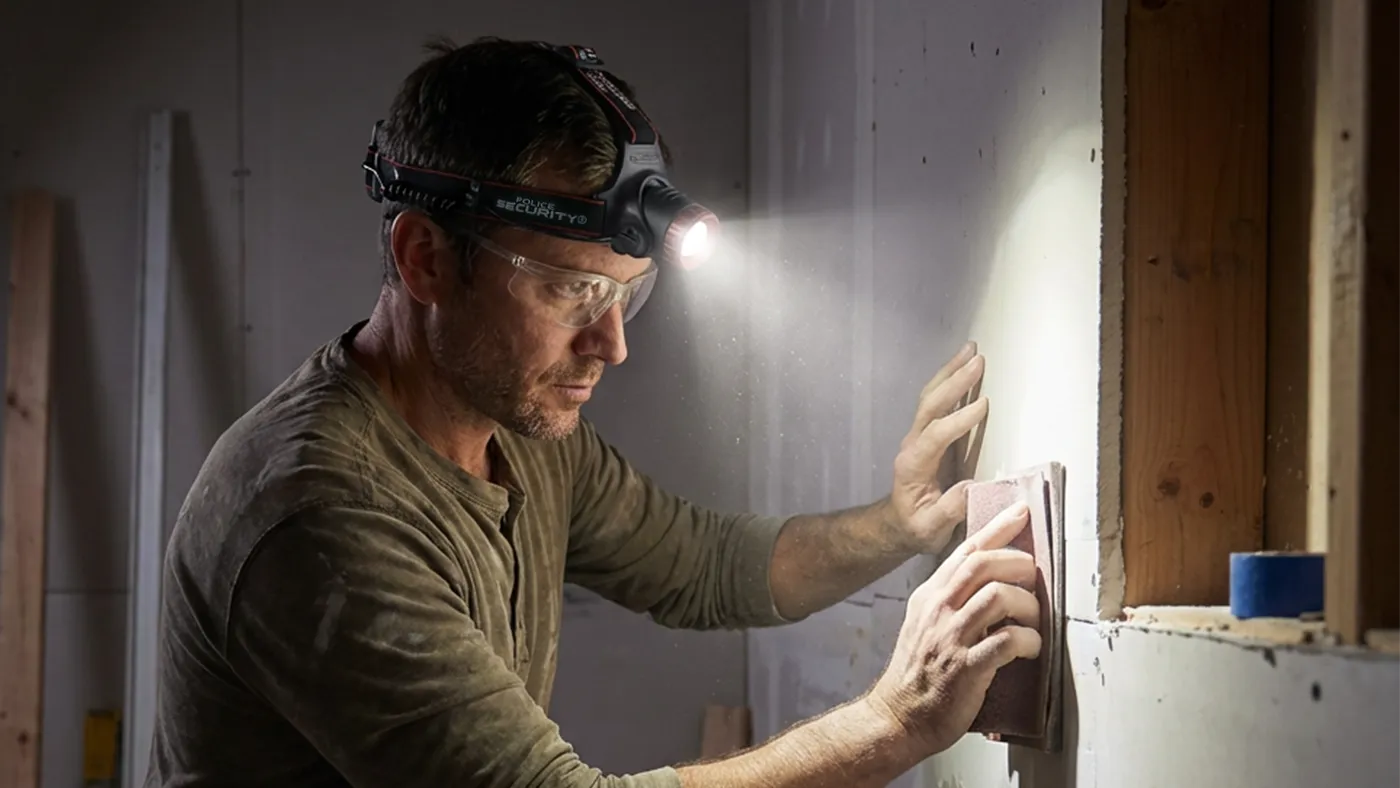
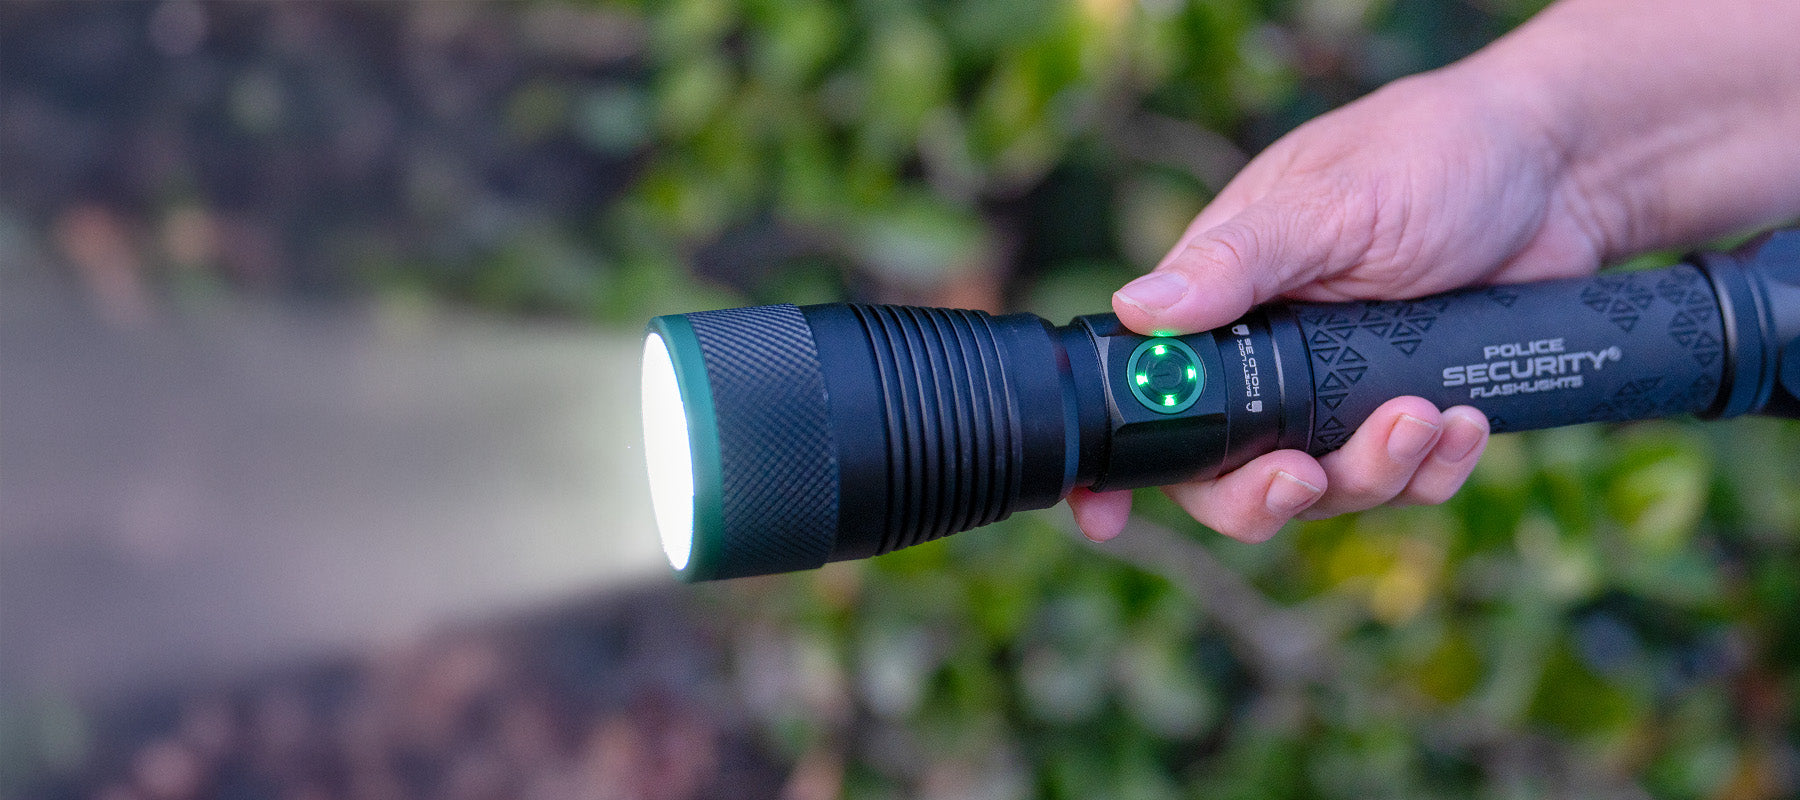
Head
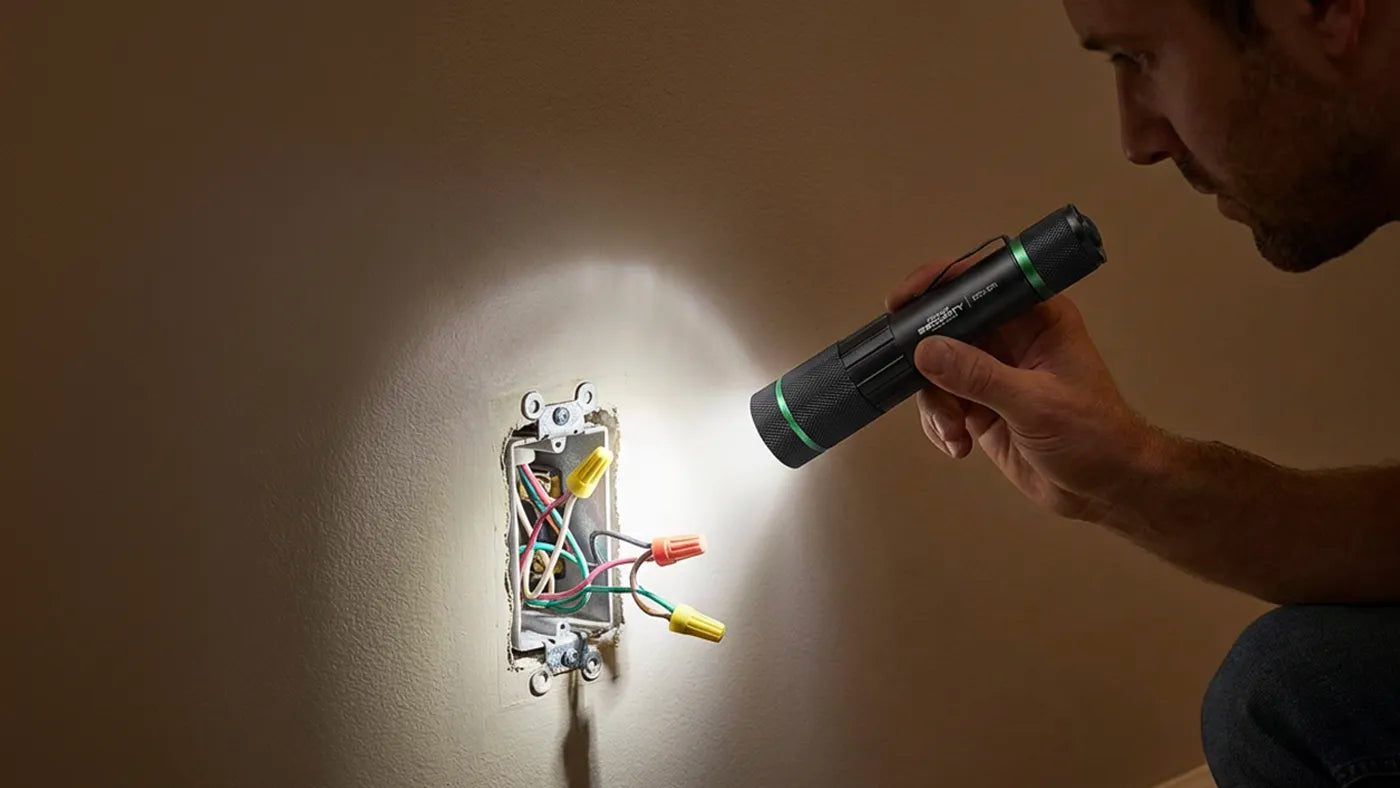
The head of a flashlight houses the LED Chip (Light Emitting Diode, which creates the light output) lens, reflector, and bezel, if present. Adjustable heads usually include a sliding or twist mechanism that can change the focus of the beam.
- LED Chip: The LED chip is the star of the flashlight, quite literally. LED technology has revolutionized the flashlight game, offering bright, long-lasting light that's more energy-efficient than previous incandescent bulbs.
- Lens: The lens protects the LED chip and the reflector.
- Reflector: The reflector determines the throw (light beam distance) and shape of the beam. It surrounds the light source and directs the light out of the flashlight.
- Bezel: The bezel is the outer ring at the end of the flashlight that surrounds the lens. Its primary functions include protecting the lens from damage, dispersing light more evenly, helping to focus a beam, and in some tactical models, serving as a self-defense mechanism with its toothed edges.

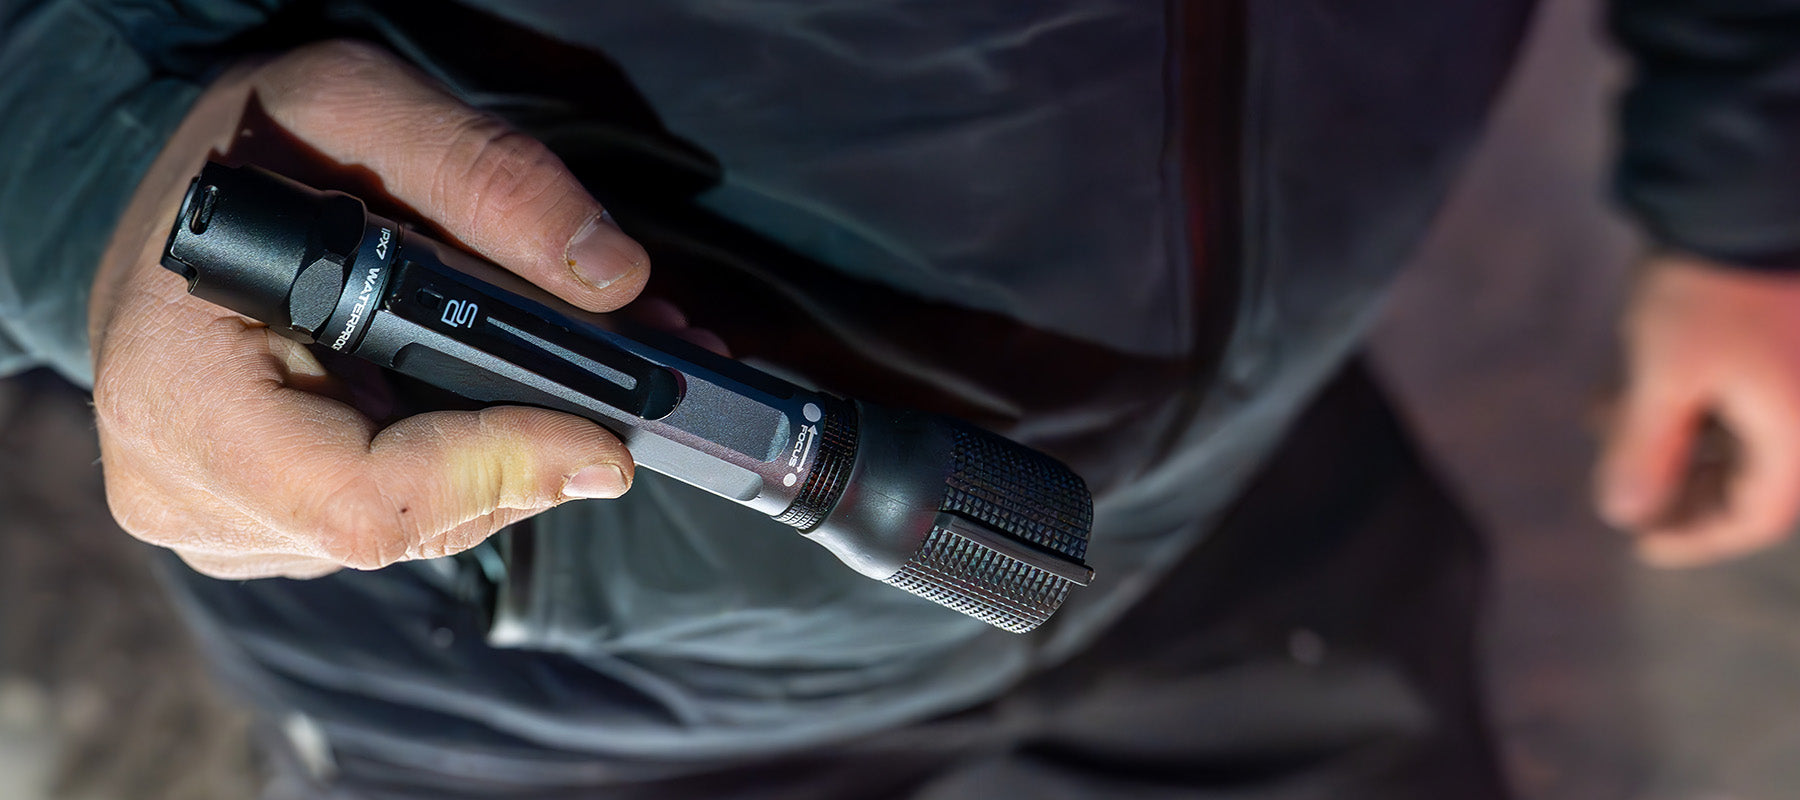
Body
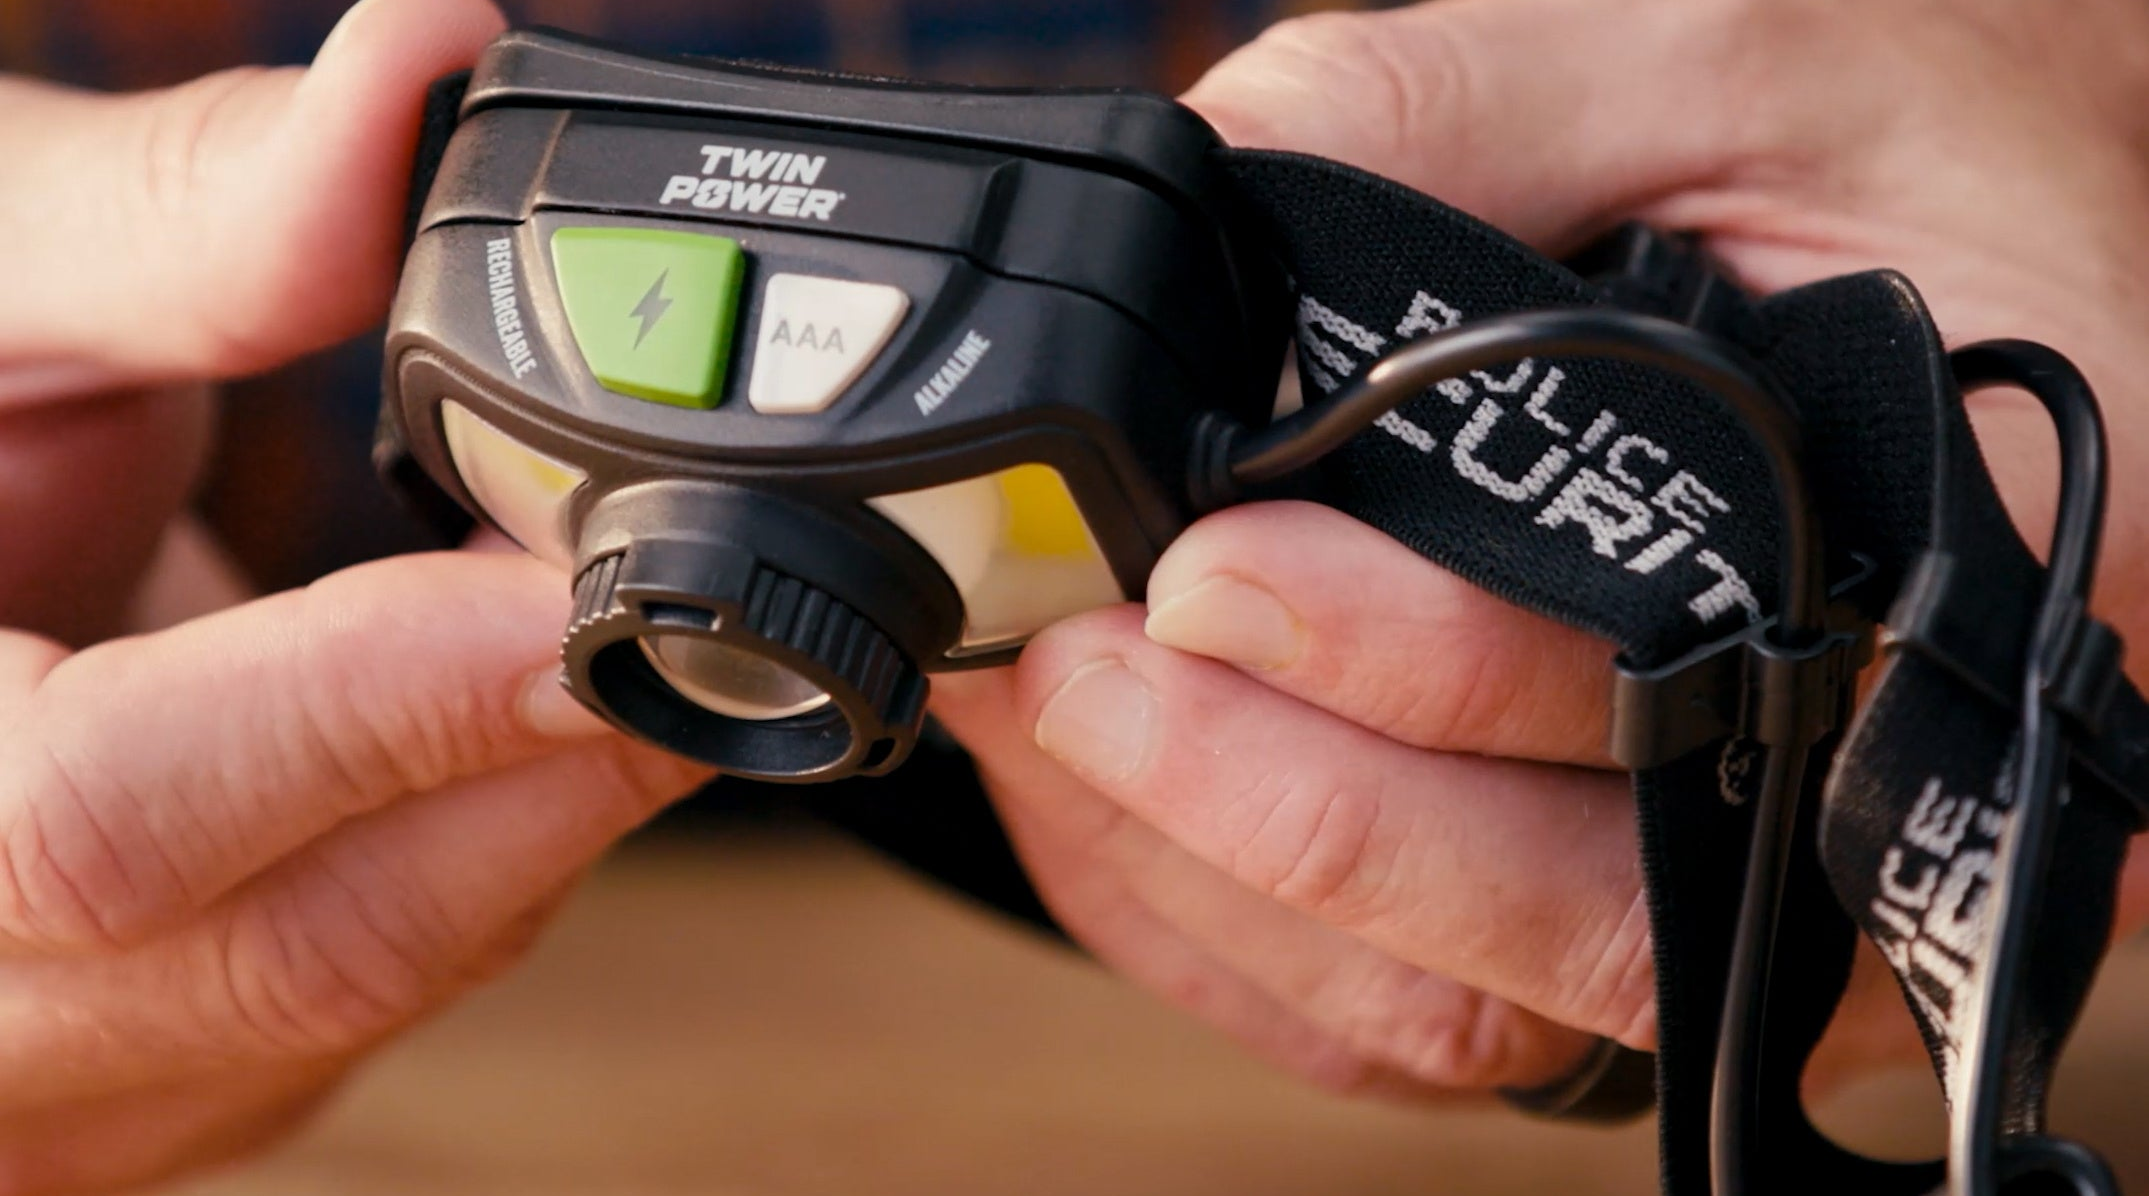
The body is the main section of the flashlight, typically where the primary on/off switch is located. It may also have additional features like grips or attachment points for lanyards. The main body is where batteries are housed.
Tail Cap
This is the removable end of the flashlight opposite the head and often where the batteries are inserted. It's common for tactical flashlights to have tail switches.
O-Rings
O-rings are integral pieces for the waterproofing and dust resistance of a flashlight. These small rubber rings act as a barrier against water and other contaminants; they are typically found in the head assembly, in between the reflector and lens, around switch components, and on threads. A well-maintained set of o-rings can make the difference between a flashlight that works flawlessly and one that falters when you need it most. If you need replacements, check with the manufacturer.
Establishing a Routine Maintenance Schedule
Regular maintenance will help to prevent failures and prolong the life of your flashlight. If you use your flashlight daily, conduct flashlight check-ups at least once a month. If you aren’t using your flashlight as frequently, a more in-depth, bi-yearly inspection will ensure your flashlight is operating optimally.
Monthly Check-Ups
A simple monthly check-up involves the following:
- Wipe down the exterior of the flashlight with a dry, clean cloth to remove any dirt or grime. Pay special attention to the threads if your flashlight is adjustable or has a twist-on bezel.
- Inspect the battery contacts for any signs of corrosion. If any is present, clean the contacts with a small amount of vinegar on a cotton swab, then dry them thoroughly before reinserting the batteries.
- Test the switch and all light modes to ensure they're functioning correctly.
- Check the seal around the lens and tail cap for any damage or deterioration. If it's not in good condition, check with the manufacturer for more information.
Bi-Yearly Maintenance
This is more comprehensive and should include:
- Disassembling the flashlight, if possible, by unscrewing the head, bezel, and tail cap. Disassembly may void the manufacturer’s warranty. It is best to refer to your flashlight's manual or manufacturer's website for any specific instructions before proceeding.
- Inspect the interior for any foreign objects, damage, or loose components, and correct any issues found.
- Lubricate the threads and o-rings with a small amount of grease to maintain smooth operation and enhance the resistance seal.
- Carefully clean the lens with a glass cleaner and a microfiber cloth to prevent scratches and maintain clarity. Be mindful not to touch the actual LED chip during this process, as fingerprints can cause uneven lighting. Again, please refer to the manufacturer’s instructions before taking any action.
Performance Enhancement Tips
You don't have to be a flashlight engineer to enhance your flashlight performance. With a little knowledge, you can improve the overall efficiency and effectiveness of your flashlight.
Battery Best Practices
Always use high-quality batteries from reputable brands in your flashlight. Store batteries separately from your flashlight to avoid accidental corrosion and discharge. If you suspect your batteries might be losing power quickly, check their voltage with a battery tester (multimeter) or replace them with a fresh set. Do not mix old and new batteries.
Reflector and Lens Maintenance
The condition of your reflector and lens directly impacts the quality and reach of your flashlight's beam. Inspect them regularly for dirt or damage. A dirty lens can diffuse light and reduce brightness. Clean the reflector with a cotton swab and alcohol, if necessary.
Seals and Water Resistance
Although many modern flashlights boast impressive water resistance, their seals can degrade over time. To maintain your flashlight's integrity:
- Keep the seals clean and free of debris.
- Avoid over-tightening the head and tail caps, which can compress the o-rings and cause them to lose effectiveness.
- If you submerge your flashlight or it’s frequently exposed to water, apply a small amount of grease to the seals to protect them against moisture and freezing.
Advanced Troubleshooting
Even with proper care and maintenance, flashlights can sometimes develop issues. Here are some typical problems and their solutions:
Flickering Lights
Intermittent flickering usually indicates a problem with the battery connection or the switch. Start by cleaning the battery contacts. If that doesn't resolve the issue, the switch may need to be repaired or replaced. Check with the product manufacturer for repair options.
Inconsistent Brightness or Beam Pattern
This issue can be caused by a dirty lens, a damaged reflector, or a misaligned or damaged LED chip. Inspect and clean the lens and reflector as necessary. If the LED chip is the problem, it may need to be replaced. Contact the manufacturer for a replacement.
Complete Failure to Turn On
If your flashlight doesn't turn on at all, check the battery first. If the battery is operating at full voltage, inspect the threads and ensure they're making proper contact. Sometimes, a good cleaning of the tail cap or head threads can resolve the issue. If not, the problem may be more significant, and you may need to contact the manufacturer for repair options.
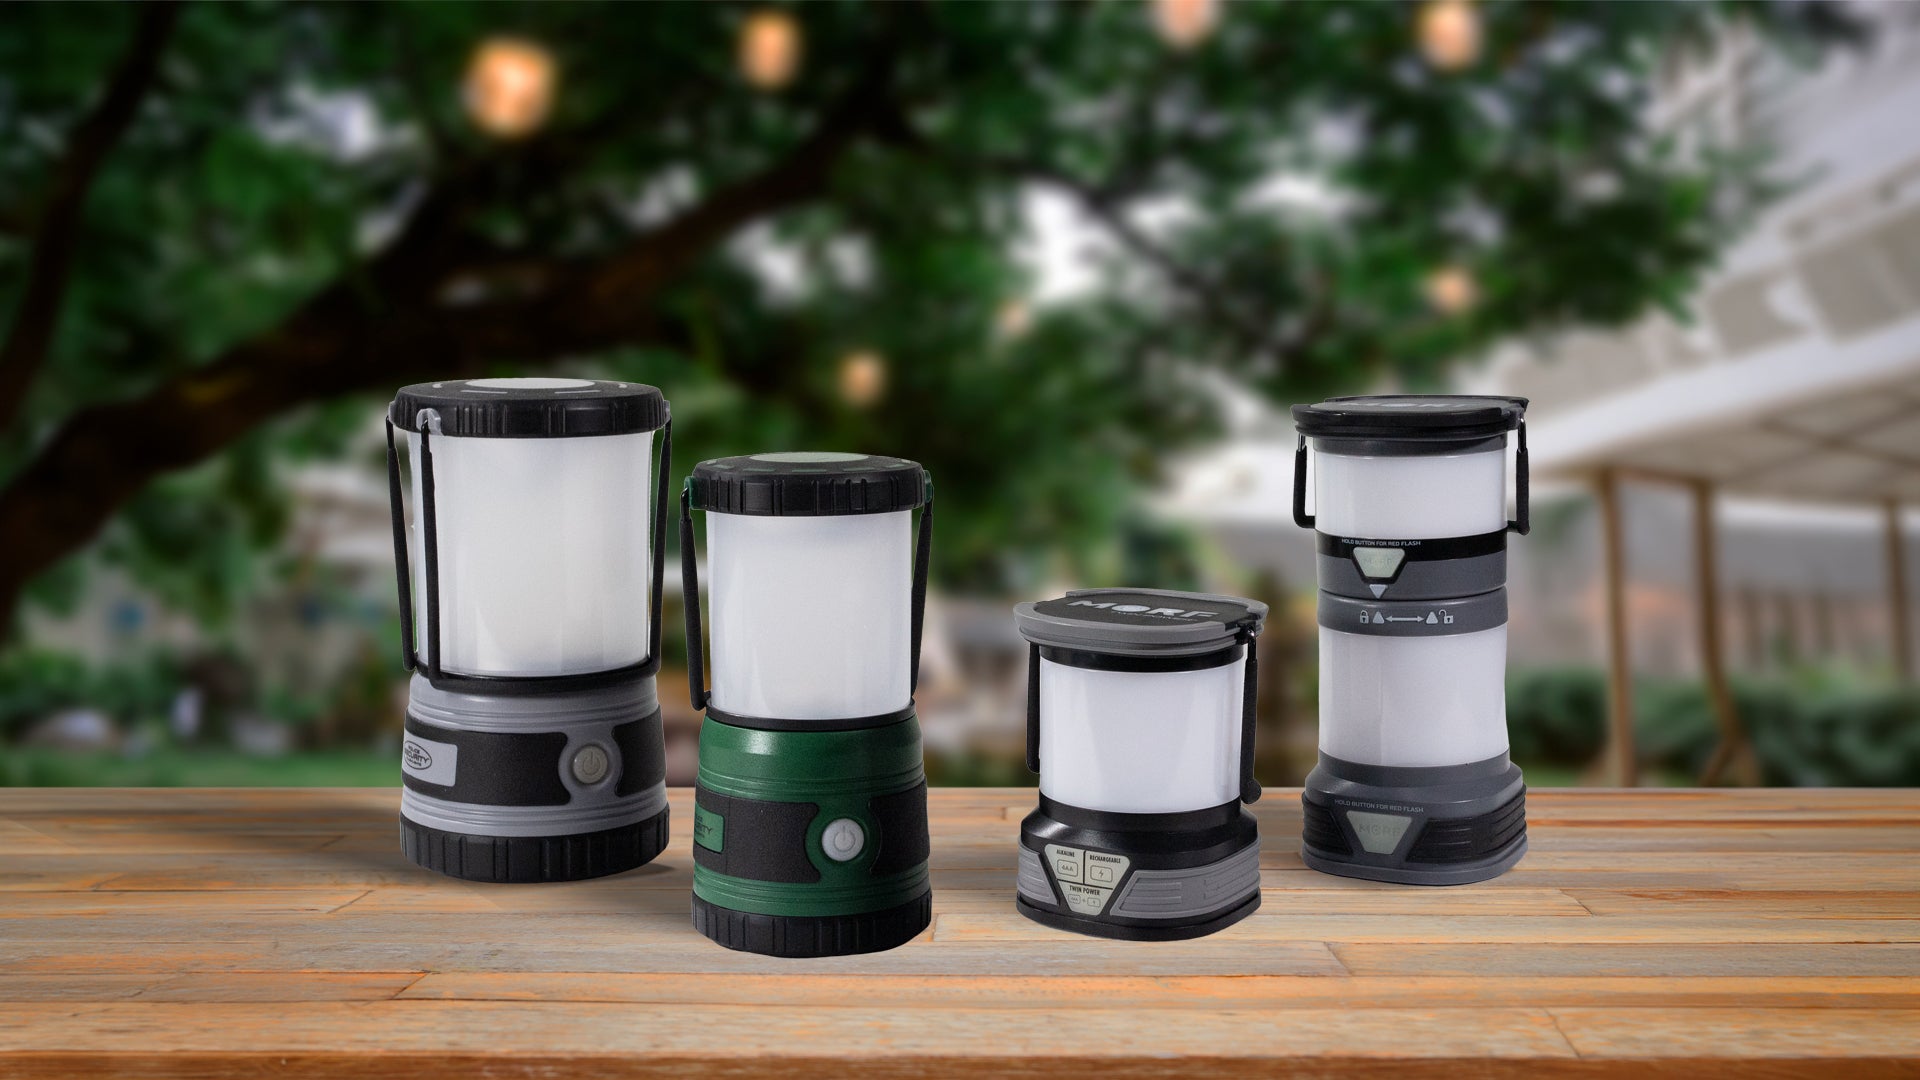
Lifespan Maximization Through Proper Storage
Properly storing your flashlight is just as crucial as using and maintaining it. Extreme temperatures, especially heat, can degrade the battery life and damage the internal components. Here are some storage tips:
- Remove the batteries if the flashlight goes unused for an extended period.
- Store the flashlight in a cool, dry place away from direct sunlight.
- Consider storing the flashlight in a protective case or cover to prevent physical damage.
With a little attention and the right practices in place, you'll be able to count on your flashlight when you need it most.
